A few years ago, I asked my students a question I thought would have a challenging answer: “Why do we have seasons?”
Without hesitation, several hands shot into the air and I was reminded of something I now expect every year: students walk into an Earth-Moon-Sun unit feeling like experts.
And honestly, I get it.
They’ve watched a lunar eclipse on the news, heard adults talk about tides, and they’ve seen the Moon their entire lives. They already have explanations for many of the phenomena we’ll study.
The problem is that some of their explanations for why these things happen or how they work aren’t quite right.
That’s what makes the earth moon sun system such a fun unit to teach.
Students arrive with background knowledge, curiosity, and plenty of opinions. And this unit gives us endless opportunities to challenge misconceptions through models, demonstrations, hands-on activities, and investigations.
Over the years, I’ve found a handful of strategies that consistently help these concepts click. Whether you’re teaching this unit for the first time or looking to refresh your lessons, these classroom-tested tips can help your middle school students move beyond memorization and actually understand what’s happening in space.
Tip #1: Start Your Earth-Moon-Sun System Unit by Uncovering Misconceptions
Before you jump into your Earth-Moon-Sun unit notes or diagrams, find out what your students already believe.
Ask questions like:
- Why do we have seasons?
- Why does the Moon appear to change shape?
- What causes an eclipse?
- Why do ocean tides change?
Then, as you listen to your students, resist the urge to immediately correct every answer.
Instead, use student responses as a starting point. Record their thinking and revisit it throughout the unit. Students often enjoy seeing just how much their understanding changes.
Tip #2: Use Visual Models Whenever Possible
The Earth-Moon-Sun system can be challenging because students are trying to understand relationships and movement that they can’t directly observe from outside the system.
That’s why diagrams alone usually aren’t enough.
Whenever possible, while teaching, try also using:
- Globes
- Flashlights
- Lamps
- Styrofoam balls
- Videos
- Students themselves
The more students can see and manipulate the concepts in front of them, the better.
Activity Idea: Become the Model!
Assign one student to hold a flashlight and represent the Sun.
Give another student a globe or ball to represent Earth.
A third student becomes the Moon.
Then, have students move around each other to physically model:
- Rotation
- Revolution
- Moon phases
- Solar eclipses
- Lunar eclipses
It’s simple, inexpensive, and incredibly effective.
Tip #3: Explicitly Teach Rotation vs. Revolution
These two terms seem straightforward. Yet every year, students mix them up. I’ve had students confidently explain that Earth rotates around the Sun more times than I can count.
To fix this, try first spending time physically modeling each movement.
- Rotation = spinning on an axis
- Revolution = traveling around another object
Have students rotate in place. Then, have them revolve around a classmate.
Once they understand the difference, connect those movements back to:
- Day and night
- Earth’s revolution around the Sun
- The Moon’s orbit around Earth
- The length of a year
Students remember movement far better than definitions.
Tip #4: Spend Extra Time Teaching Seasons
If there’s one misconception that refuses to disappear, it’s this one: “Summer happens because Earth is closer to the Sun.”
Students believe it every year. The solution is making Earth’s tilt the star of the show.
Help students investigate:
- Which hemisphere is tilted toward the Sun?
- Which hemisphere is tilted away?
- Where is sunlight more direct?
- How does sunlight change throughout Earth’s revolution?
After modeling, have students sketch what they observed and explain why the Northern and Southern Hemispheres experience opposite seasons. The explanation matters way more than the drawing.
Tip #5: Use Physical Models for Moon Phases
Before students memorize the eight moon phases, they need to understand why phases happen in the first place.
Focus on these key ideas:
- Half of the Moon is always illuminated by the Sun.
- The Moon does not produce its own light.
- The amount of the illuminated half we can see changes as the Moon revolves around Earth.
Once students understand those concepts, the phases become much easier to learn.
Activity Idea: Moon Phase Simulation
Use a lamp or flashlight as the Sun and a Styrofoam ball as the Moon.
Have students slowly move the Moon around themselves while observing the illuminated portion.
Then connect each position to:
- New Moon
- Waxing Crescent
- First Quarter
- Waxing Gibbous
- Full Moon
- Waning Gibbous
- Third Quarter
- Waning Crescent
Watching students suddenly make the connection is one of the best moments in the unit.
Tip #6: Use Cookies to Teach Moon Phases (Yes, Really)
Oreo moon phases? Yes, please! I absolutely love this activity.
The second food enters the lesson, engagement changes completely. Suddenly everyone is deeply invested in whether they accidentally turned a waxing crescent into a frosting disaster.
With their cookies, ask students to:
- Arrange phases in order
- Label each phase
- Identify waxing versus waning
- Identify crescent versus gibbous
- Determine where the Sun would be located
- Explain why the illuminated portion changes
Basically, you’ll spend a class period eating cookies, learning science, and arguing about frosting proportions. Middle school science at its finest.
Tip #7: Compare Solar and Lunar Eclipses Side by Side
Students frequently confuse solar and lunar eclipses.
Instead of teaching them separately, compare them side by side.
Solar Eclipse:
Sun → Moon → Earth
Lunar Eclipse:
Sun → Earth → Moon
Then, have students identify:
- Which object is in the middle?
- Where is the shadow?
- Who can observe the eclipse?
- Which Moon phase is associated with each event?
Activity Idea: Eclipse Comparison Chart
Have students create a two-column chart or Venn diagram comparing the two types of eclipses.
You can also have students design an infographic explaining the differences.
Visual comparisons help students sort out the details.
Tip #8: Connect Moon Phases and Eclipses
Students often learn moon phases and eclipses as completely separate topics. I recommend connecting the two.
Ask students:
- What Moon phase is required for a solar eclipse?
- What Moon phase is required for a lunar eclipse?
Then have them use models to prove their answers. This pushes students beyond memorization and encourages them to think about the actual positions of the Sun, Earth, and Moon.
Tip #9: Make Tides Visual
Tides can quickly become a vocabulary-heavy lesson. Instead, focus first on the relationship between gravity and the positions of Earth, the Moon, and the Sun.
Teach:
- High tide
- Low tide
- Spring tide
- Neap tide
Then use diagrams and models to help students visualize how those tides occur. Students understand tides much better when they can see the system in action.
Tip #10: Break Up Your Earth Moon Sun System Unit With Stations
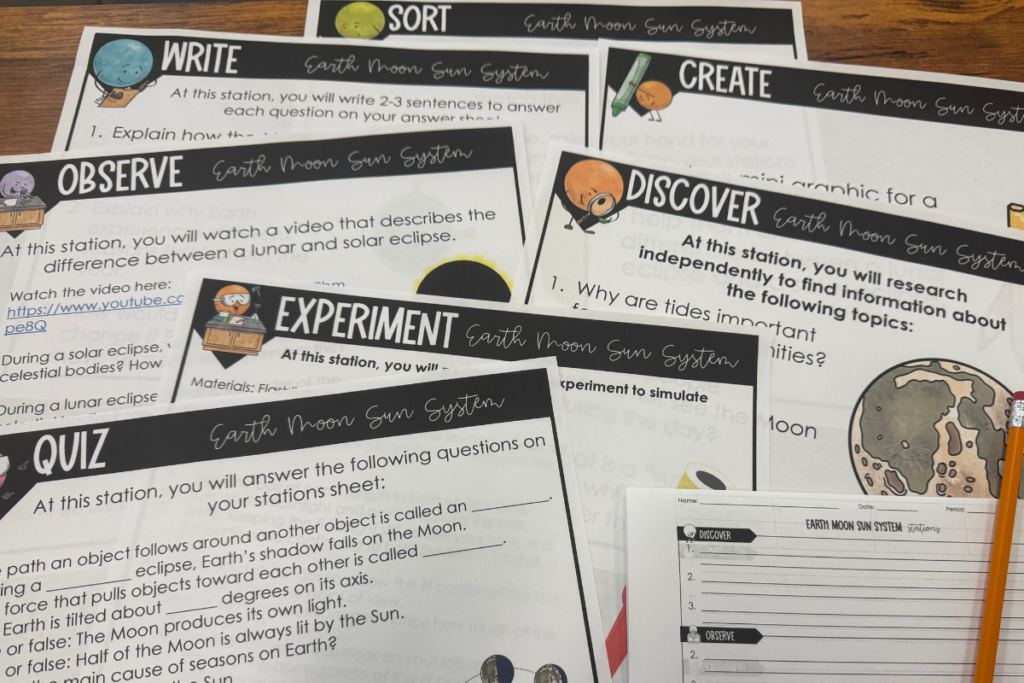
The earth-moon-sun system is perfect for science stations because there are so many concepts students can model, observe, research, and explain.
Station ideas include:
- Researching real-world Earth-Moon-Sun phenomena
- Watching eclipse videos
- Simulating moon phases
- Sorting images
- Writing explanations
- Creating eclipse infographics
- Completing a short formative assessment
Try to keep stations around 8–10 minutes long.
That pace keeps students focused and engaged.
Tip #11: Use Task Cards to Get Students Moving
By the end of your unit, students will need to review. They also will probably be itching to get out of their seats.
That’s where gallery walks with task cards come in.
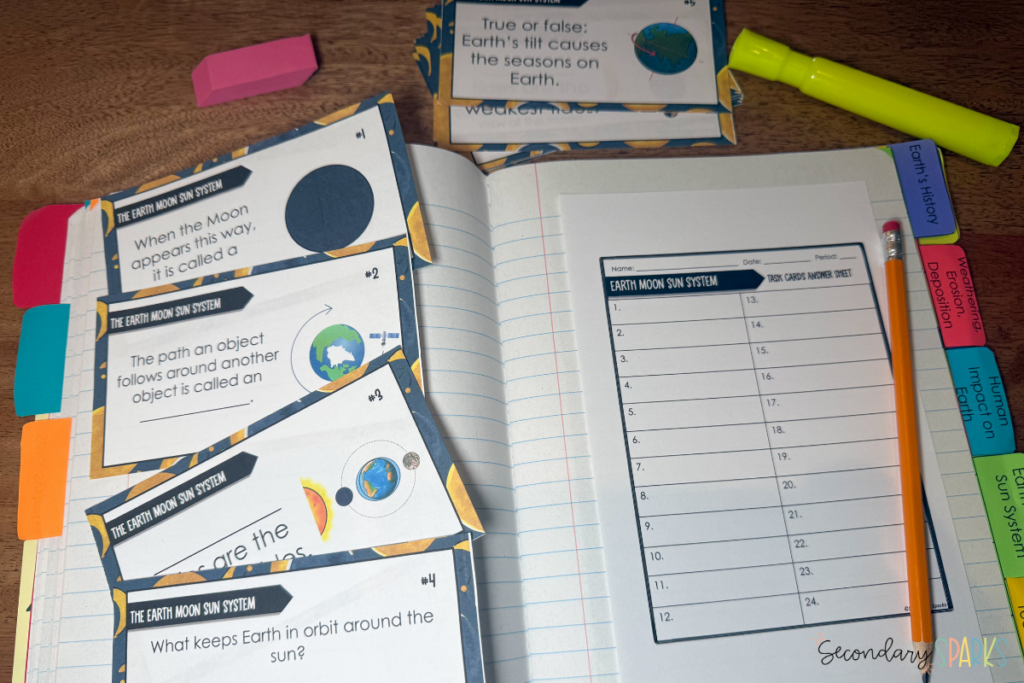
I tape task cards around the room and give each student a starting card. Then I set a timer for about 30 seconds to a minute, depending on the questions. When the timer goes off, students move to the next card.
They answer each question in their science notebook, check the card number, and keep moving until they’ve made their way around the room.
They’re reviewing. They’re talking. They’re moving. And I’m not asking them to sit in the same chair for 45 minutes.
A win for everyone.
I especially like using task cards toward the end of an earth-moon-sun system unit because students need to pull together so many different concepts.
One card might ask them to identify a Moon phase. The next might show an eclipse. Another might ask them to explain why we have seasons.
Suddenly, you’re reviewing the entire unit without handing students one giant review packet.
And the gallery walk is just one way to use them. Task cards also work well for:
- Partner practice
- Science stations
- Small-group intervention
- Early finishers
- Spiral review
- Test prep
You can easily turn task cards into a full review lesson, or pull out a few cards when you only have 10 minutes to spare.
Tip #12: Give Students Choice for Their Final Project
Not every student wants to demonstrate what they know in exactly the same way. And honestly? I’m okay with that.
Give students a choice board and let them pick how they want to show what they’ve learned. You can keep the learning goal the same while giving students a little more ownership over the final product.
For an earth-moon-sun system unit, students could:
- Build a 3D Moon phases model
- Create a video demonstrating an eclipse
- Design a science review game
- Make a flipbook
- Create an infographic
- Write a children’s book
- Record a podcast episode
- Create a Myth vs. Fact presentation about seasons, Moon phases, eclipses, or tides
Some students will want to build something. Others will want to draw, write, record, or present. Let them.
And before you panic about grading eight different types of projects, use one general rubric.
Focus on the science content, accuracy, explanation, and evidence of understanding rather than whether every project looks exactly the same.
Tip #13: Check for Understanding Before the Test
Students can sound like they understand the Earth-Moon-Sun system long before they actually do. They’ll memorize vocabulary and identify Moon phases.
But when the test rolls around and someone confidently explains that summer happens because Earth is closer to the Sun….you may wonder where you went wrong.
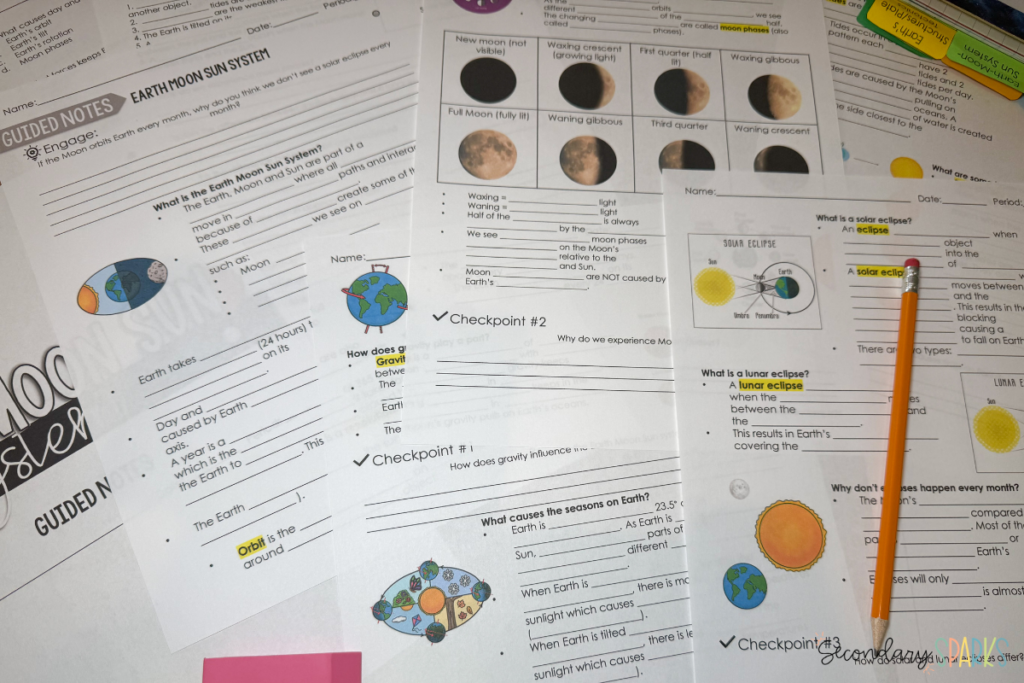
To avoid this, I build in lots of small check-ins throughout the unit instead of waiting until the summative assessment.
Some of my favorites are:
- Warm-ups
- Exit tickets
- Turn-and-talk questions
- Mini whiteboards
- Quick diagrams
- Stations
- Task cards
The goal isn’t just getting the right answer. It’s figuring out why students chose that answer.
The earth-moon-sun system is a big unit, but it doesn’t have to mean big lectures and endless vocabulary practice.
Start by uncovering what students already think they know. Then, give them plenty of chances to model, move, create, explain, and revise their thinking.
Use stations and task cards to keep review active, and check for understanding often so misconceptions don’t sneak all the way to the test.
And yes, throw in the Oreos too.
By the end of the unit, students should be able to look at a model, diagram, or real-world phenomenon and explain what’s happening between the Earth, Moon, and Sun.
That’s where all those models, activities, discussions, and quick checks really pay off.

Leave a Reply